ENGR 100-600 | University of Michigan
Getting Started with Onshape
This document walks you through setting up your Onshape account and completing some basic tutorials to familiarize yourself with how Onshape works. This document and the tutorials assume you have never used Onshape before.
Overview
Computer-Aided Design (CAD) is often referred to more generally as 3D modeling. 3D modeling is used to try out ideas in early design, to create detailed drawings of the final versions of designs, to create figures for presentations or reports, and to create the files needed to fabricate parts.
This document introduces the Onshape platform. Onshape is an online, cloud-based 3D modeling program that is designed for collaborative work. In Lab 3, we’ll be doing a 3D modeling tutorial that is specifically designed for our ROV project. But that lab will make a lot more sense if you understand the basics of 3D modeling, the Onshape program, and the terminology that is used.
Create Your Onshape Account
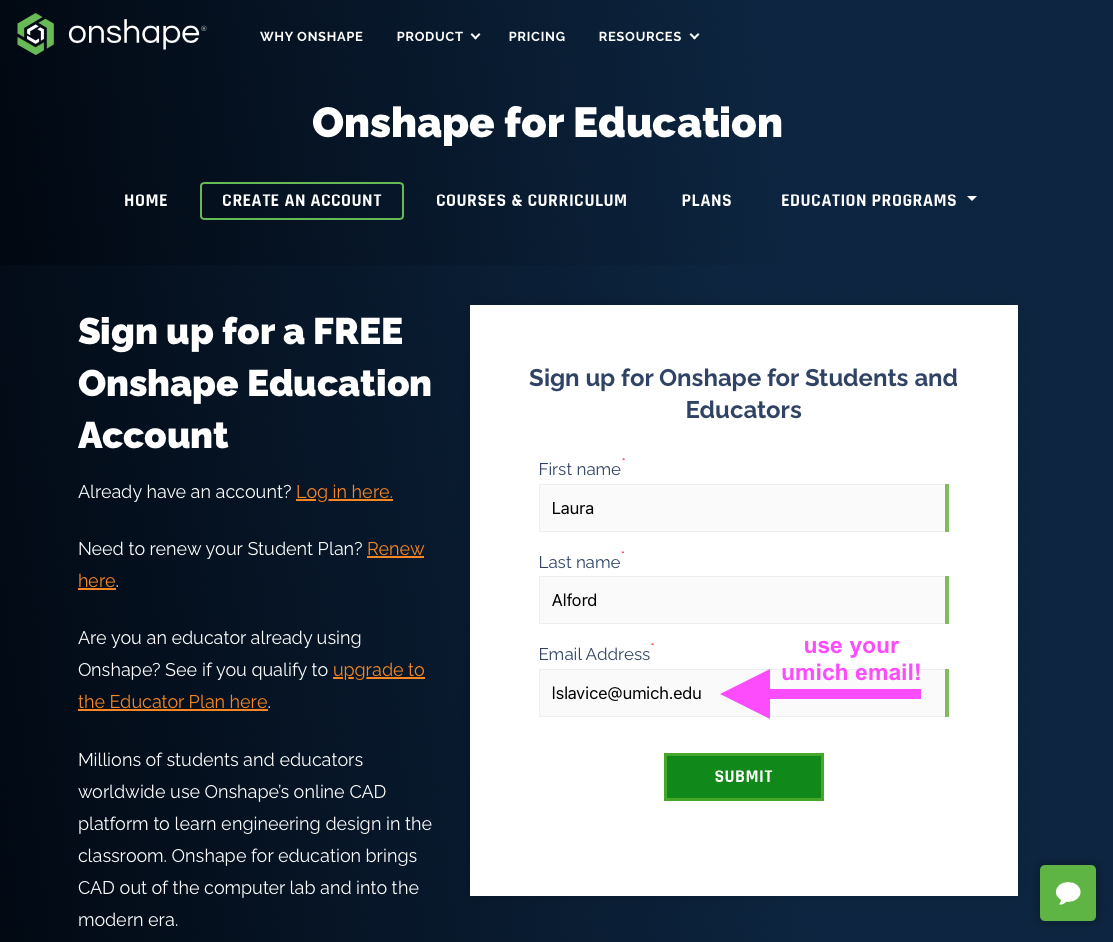
Onshape provides free accounts for education, so you just need to make an account with your umich email address. Go to Onshape’s education sign-up page and register using your name and umich email account, like this:
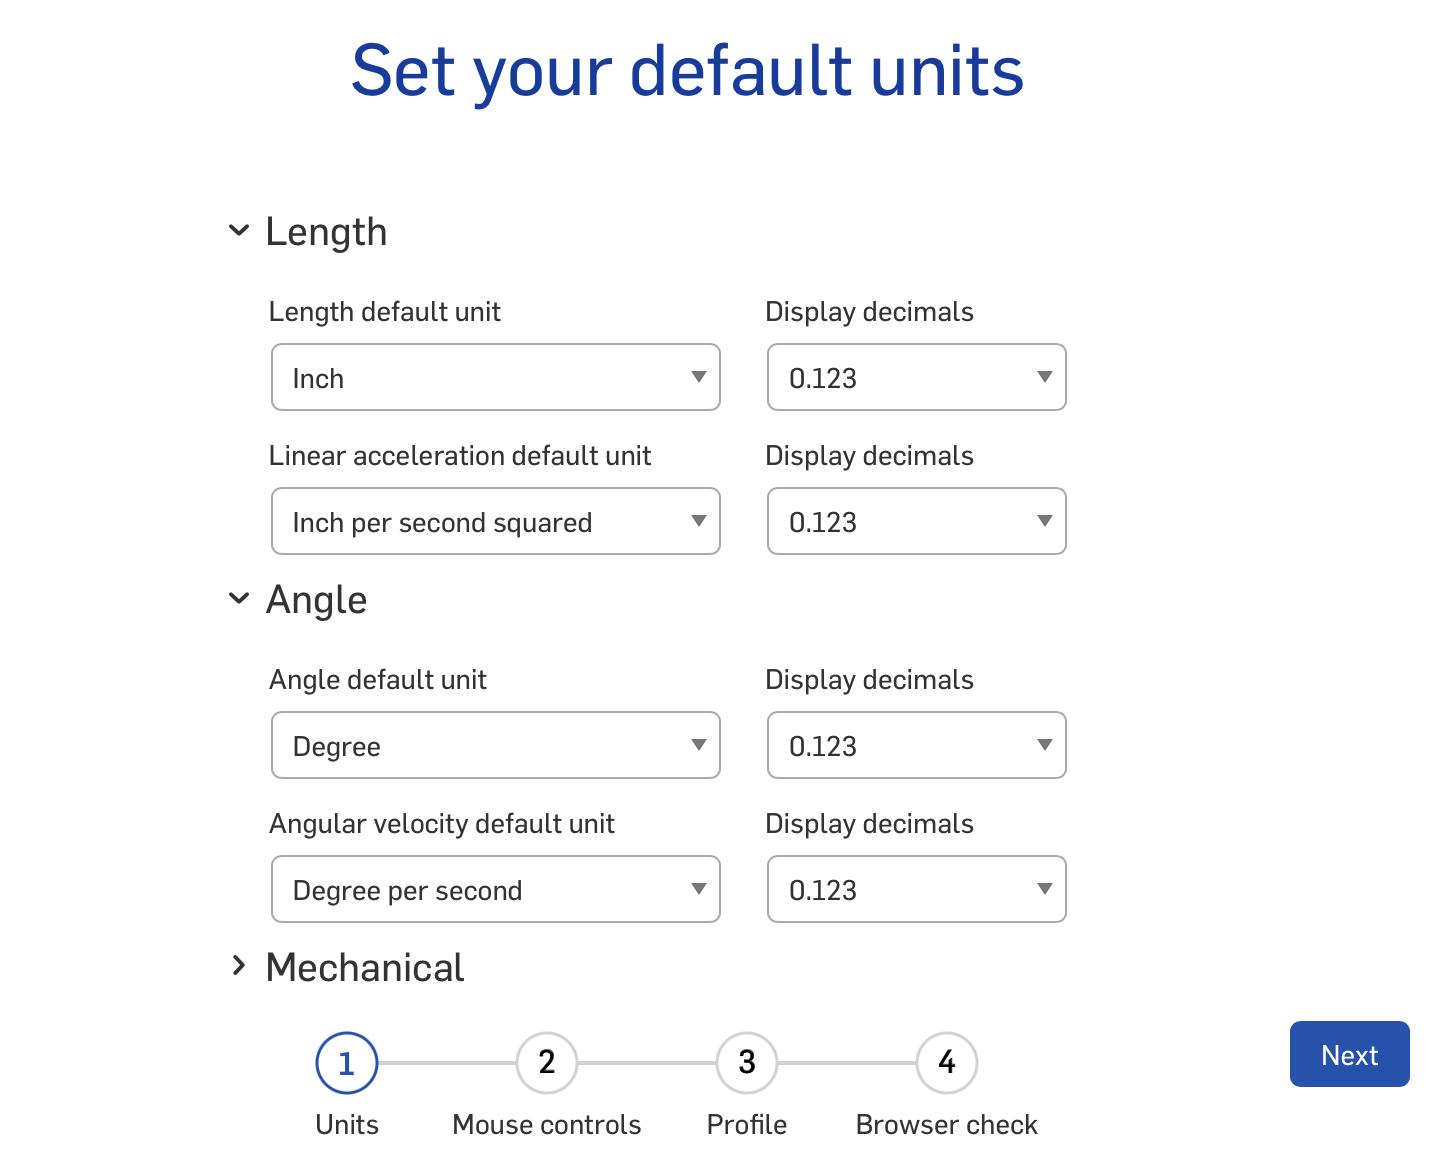
Onshape will then walk you through some initial settings. First, it will ask you for the default units that you want to use. We will be doing a lot of work with PVC pipe, which tends to be sold with inches for the dimensions, so we recommend that you go with “inches” for your default length unit. You can choose what you want, as shown here:
And don’t worry! If you change your mind, you can always go back and change these default settings later.
Next, Onshape will ask you about your preferred mouse controls. If you have never done any 3D modeling, then we recommend just going with Onshape’s default settings, like this:
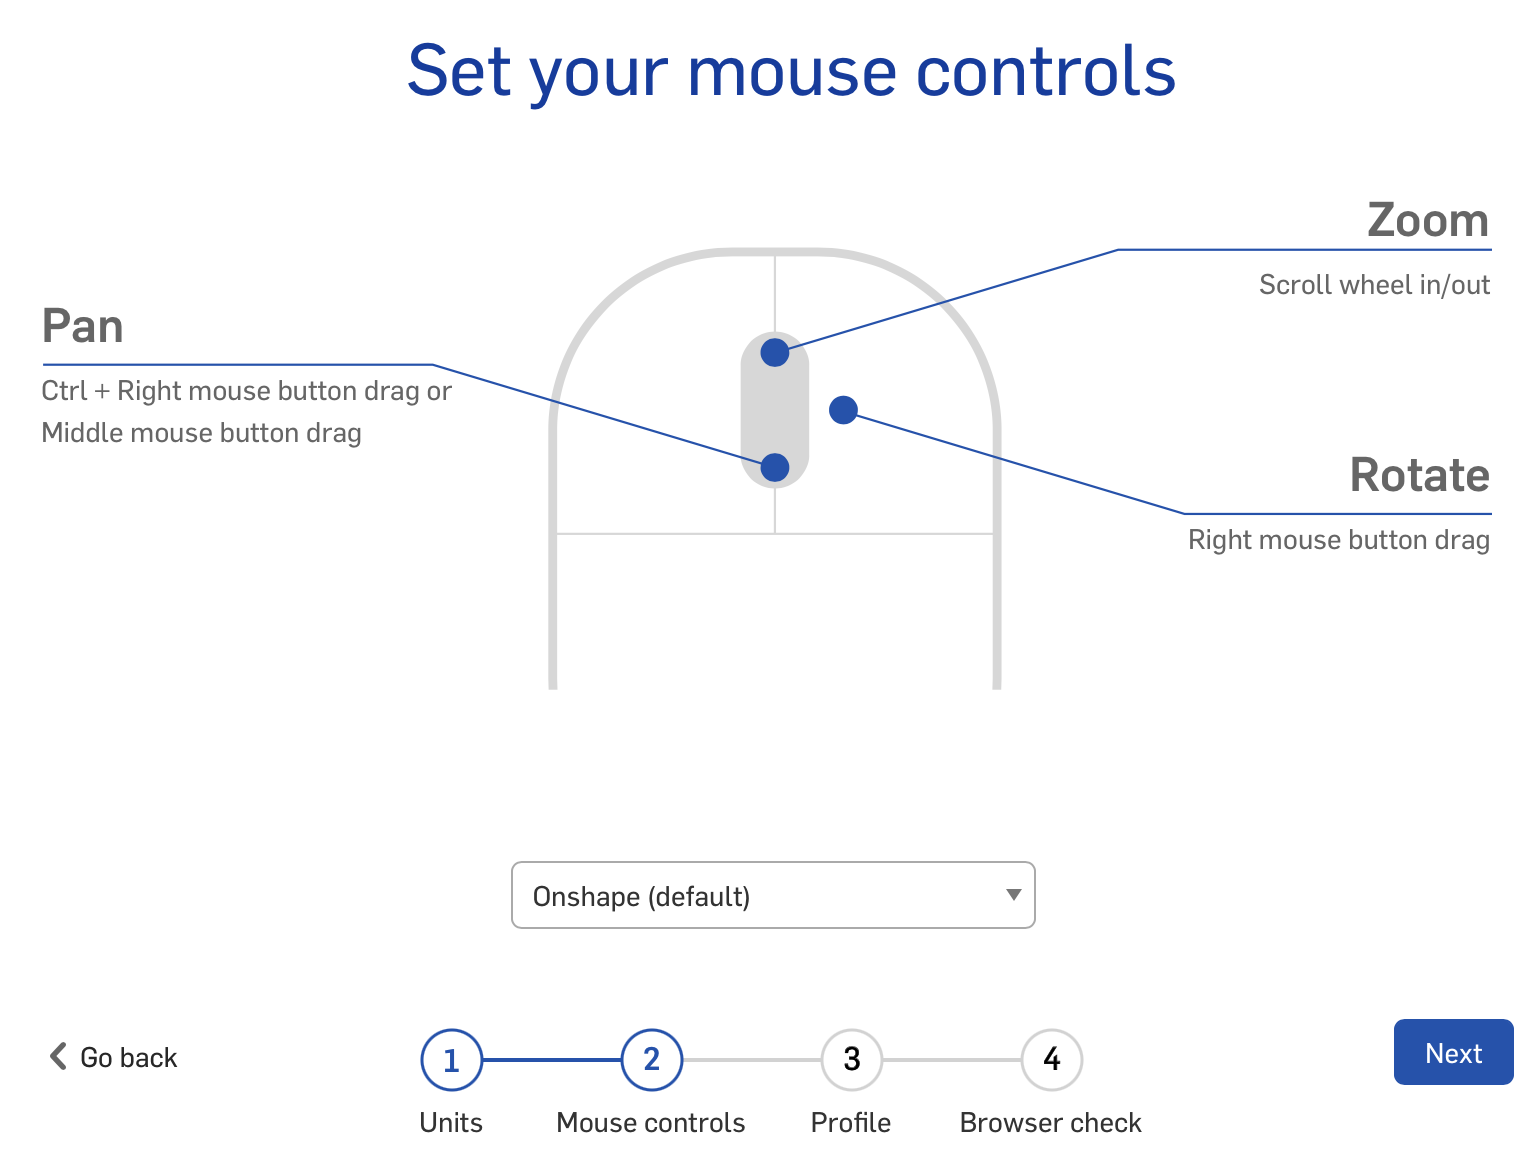
But you can check out their other options from the drop down menu. If one of those other settings makes more sense to you, then go ahead and choose it!
Next, you need to add the name that people will see when you are collaborating with them. Make sure this is a name that we will be able to recognize as you:

Finally, Onshape needs to check that your browser can properly handle what Onshape does:
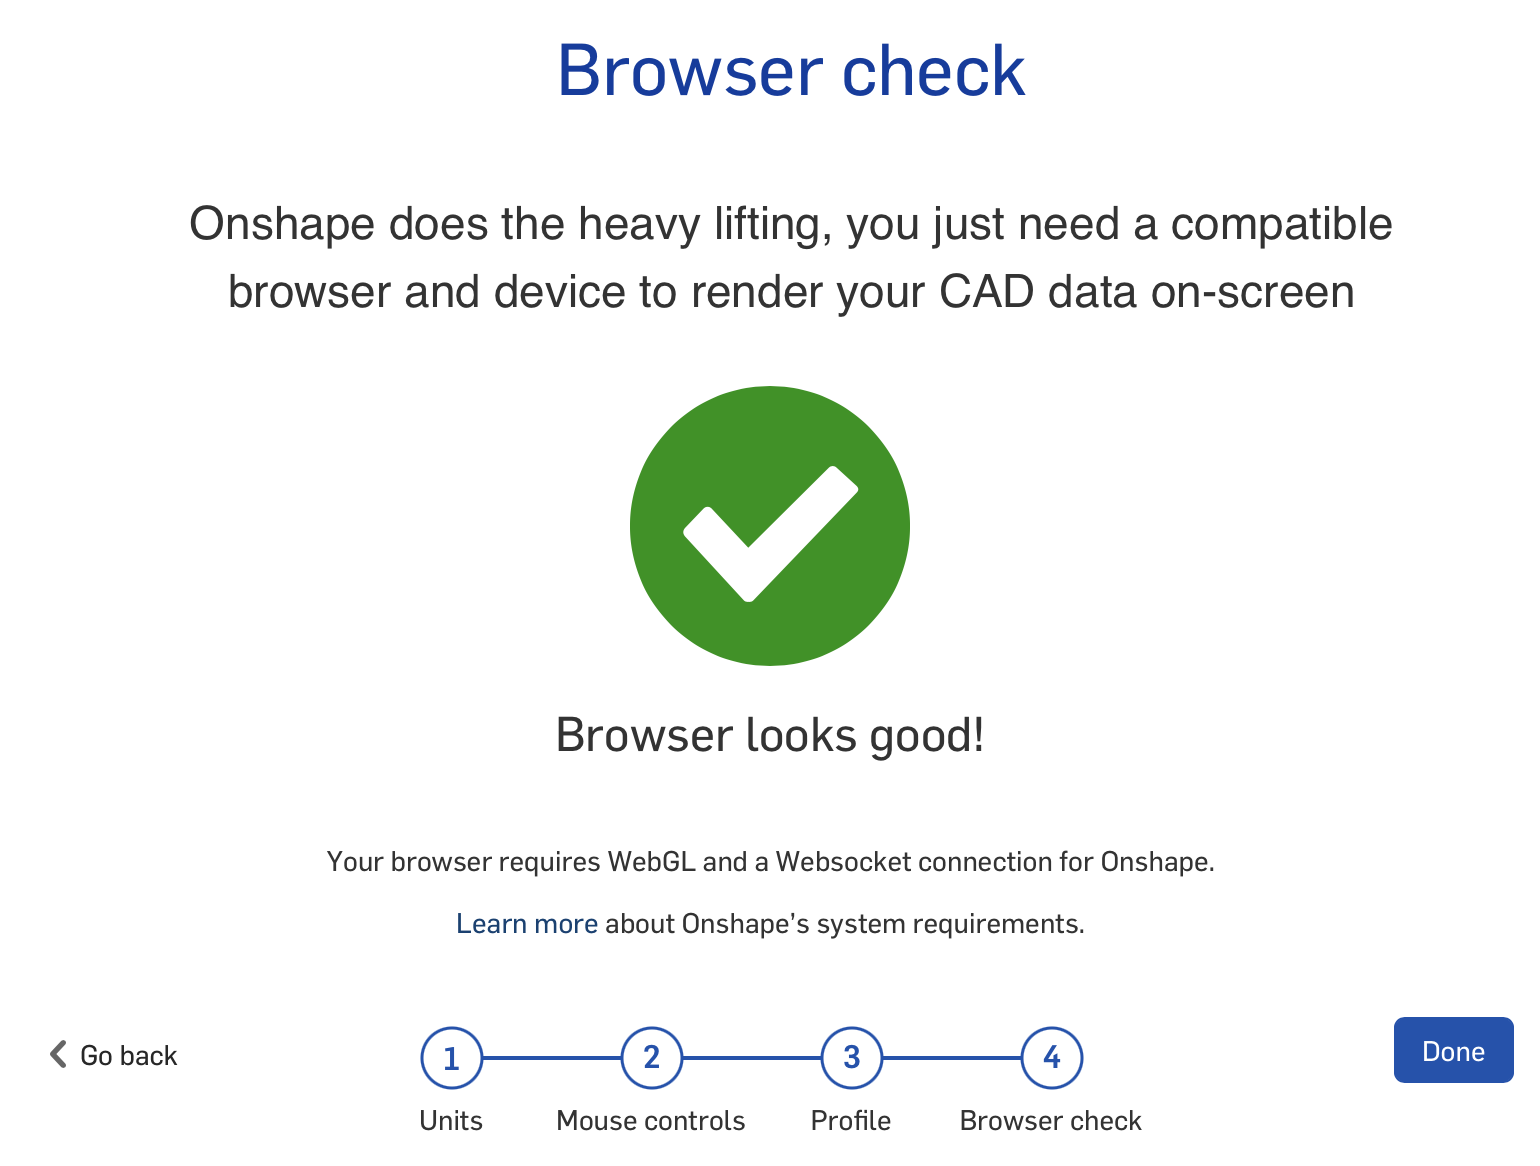
If your browser fails this check, then you can try another browser or you may need to update your computer. We don’t really anticipate too much trouble with browsers. Laura is doing Onshape on a very out-of-date version of Safari, so you’ll probably be okay!
Click Done and you’ll be taken to your Onshape home screen!
Complete Onshape QuickStart
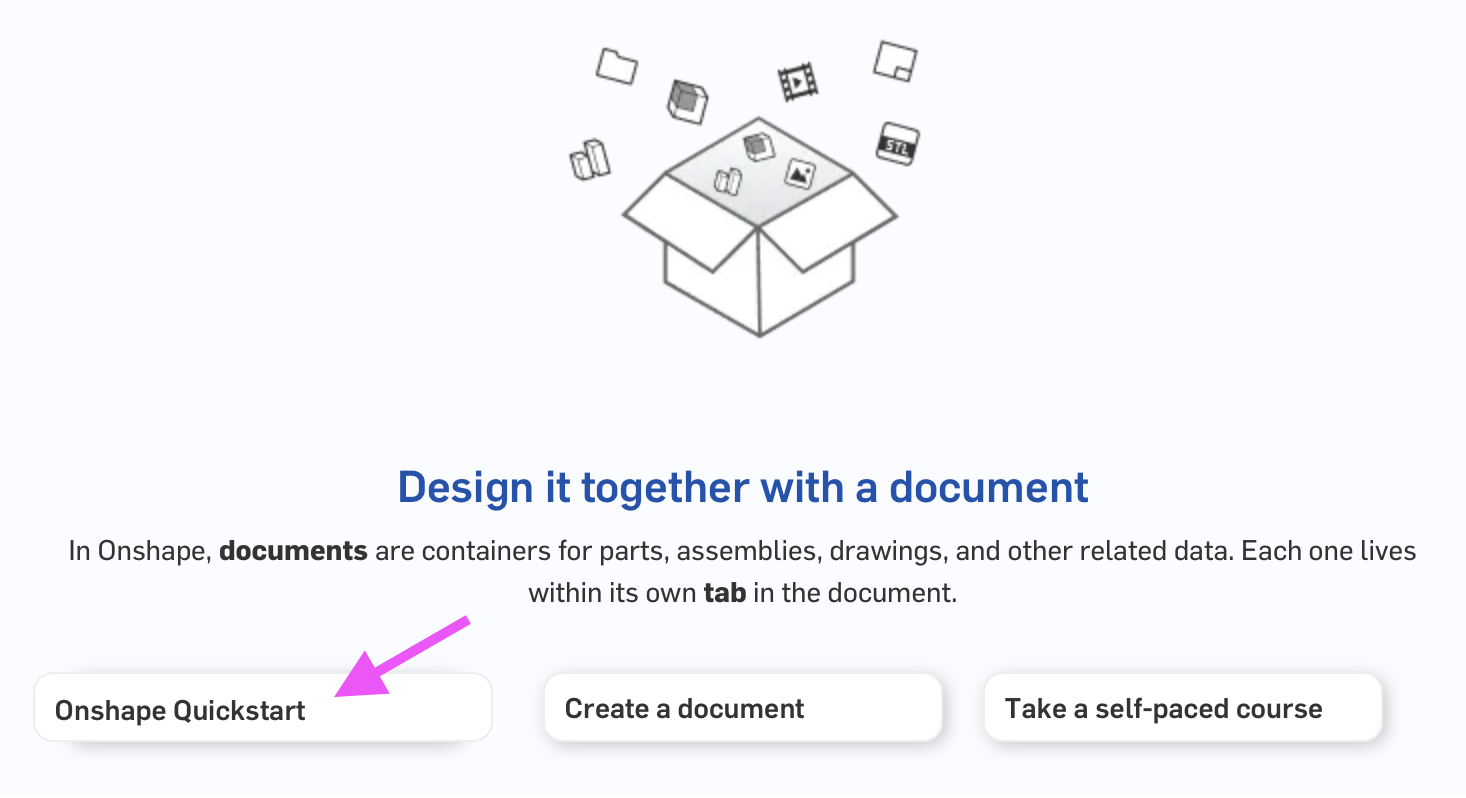
The best way to get acquainted with Onshape is to complete their Quickstart guide. So, click Onshape Quickstart:
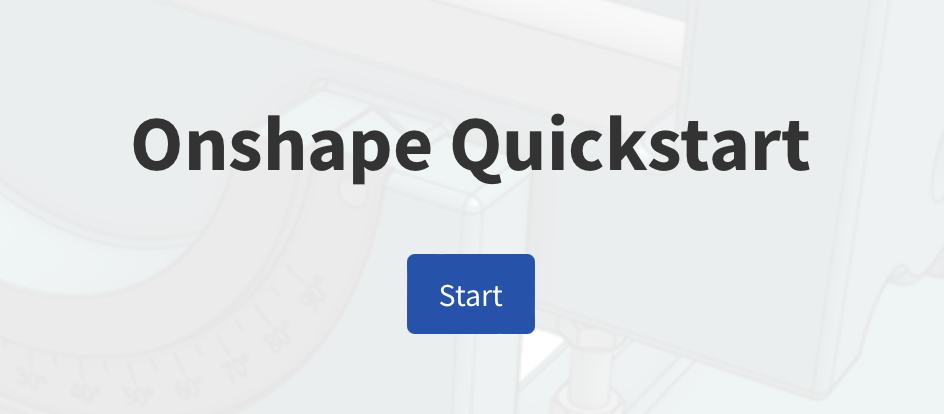
And then click Start:
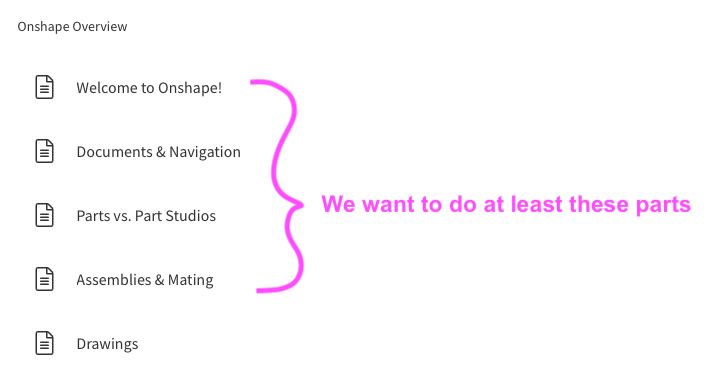
For this homework, you need to do at least the first four sections:
And look: we fully acknowledge that it would be easy for students to just scroll through the Quickstart guide and not really engage in the material. We can’t control what you do. We hope that you will take this work seriously, though, and actually do all the things the Quickstart guide asks you to do.
Welcome to Onshape!
This section introduces Onshape and a bit about how it is structured for Computer-Aided Design (CAD). Read through the sections and watch the video for the 5 things you need to do right away. Practice sharing a document by sharing your Onshape Quickstart document with Laura (use her lslavice@umich.edu email address) and your IA (see the syllabus for email addresses):
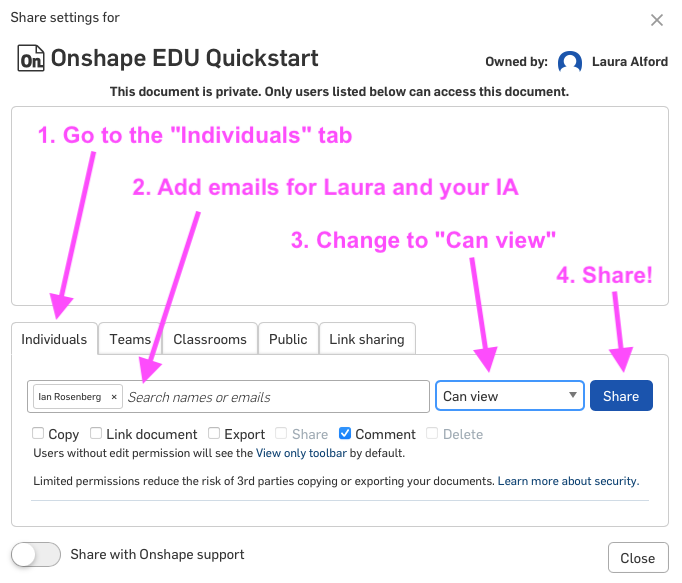
Take a screenshot of who the document is shared with, like this:
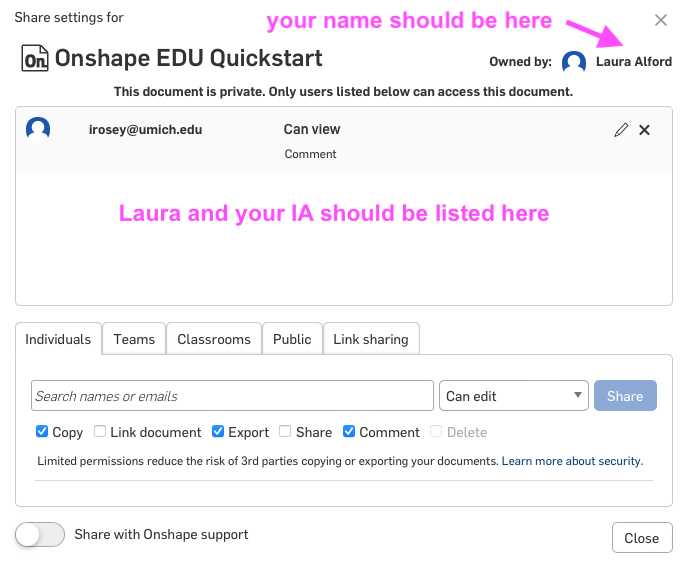
Submit this screenshot as part of this homework assignment.
Documents & Navigation
This section shows you how to navigate documents in Onshape. Onshape documents can get very complex, as the Quickstart document shows. On one hand, this is great because you can have all your stuff for a project in one place. On the other hand, it can get confusing quickly! So watch the videos and follow along to learn how to navigate both your document and the 3D models themselves.
While practicing your navigation in the Main Assembly, use the navigation cube to view the assembly from the Right side:
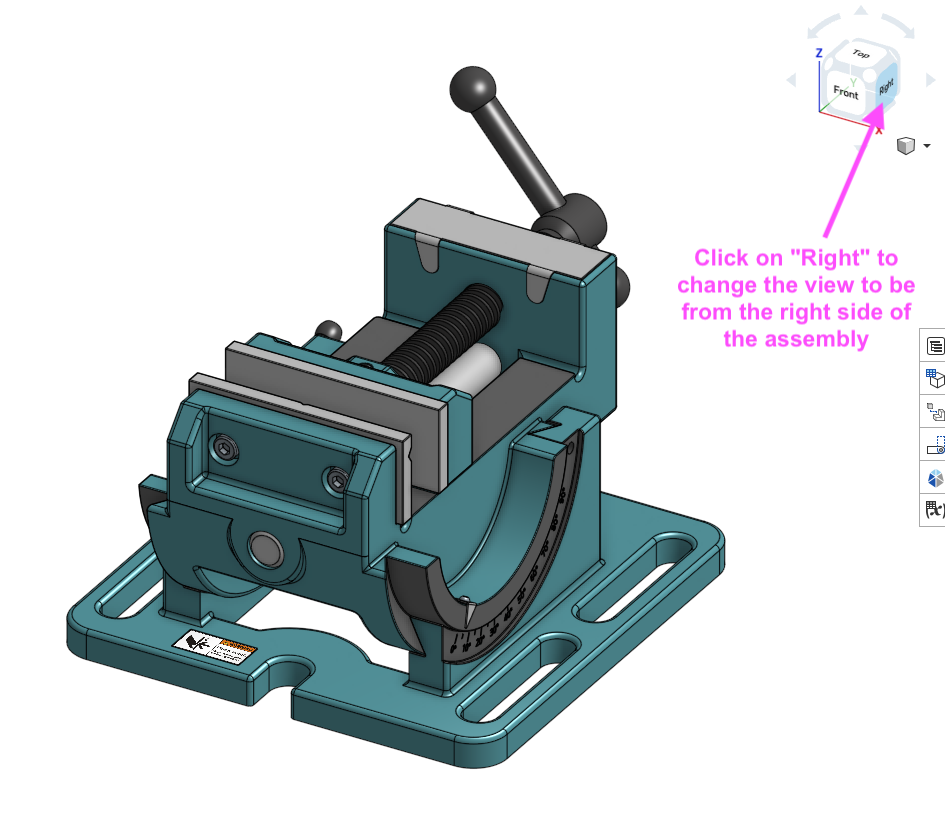
Take a screenshot of the Main Assembly from the Right side and submit the screenshot as part of this homework assignment.
Parts vs. Part Studios
This section describes how to create individual parts and then put them together to make your design. There is a lot of terminology in this section, so carefully read all the sections and follow along with the video tutorials. If anything doesn’t make sense, go to the IA office hours to get clarification.
As part of the tutorials in this section, Onshape will walk you through making some holes in a part:
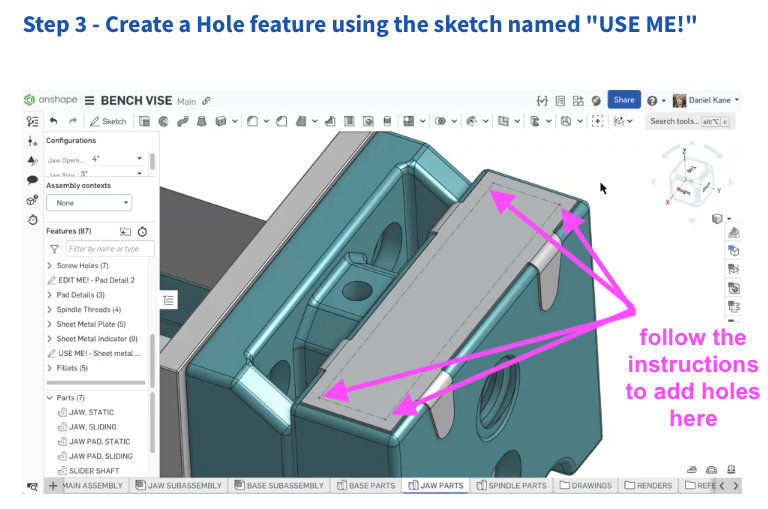
This is something we will be doing with our ROV frame later on. Take a screenshot of the holes you made in the “USE ME!” sketch and submit the screenshot as part of this homework assignment.
Assemblies & Mating
This section introduces the very important concept of mates in Onshape. Mates are how you assemble parts together in a 3D model, hence the term assembly for a group of parts. There are a lot of different kinds of mates, including mates that allow a piece to rotate (like a gear) and mates that completely “stick” pieces together so they can’t move. Follow along with the tutorials to learn more about mates and assemblies!
At the end of this section, get the Bill of Materials (BOM) of the Main Assembly:

and save it as a .csv file:

Submit this .csv file as part of this homework assignment.
[OPTIONAL] Onshape Intro to CAD Course
If you want to learn more about parts, mates, and assemblies in Onshape, the Onshape “Intro to CAD” course is a great place to start! This online course is not required for our course, but you may find it extremely helpful if you have never done 3D modeling before this homework assignment.